

We understand the frustration of a busy schedule clashing with the desire for a polished, professional appearance. Many of our clients transition to at-home solutions because they need flexibility without sacrificing the high-end aesthetic of a boutique salon. Choosing Press On Nails offers a versatile way to maintain a sophisticated look, provided you execute the application with precision and care.
The secret to a flawless finish doesn’t lie in the price of the kit, but rather in the technique and preparation. We often see enthusiasts struggle with nails popping off prematurely or looking bulky at the cuticle line. These issues usually stem from a few missed steps in the foundational process that professionals never skip.
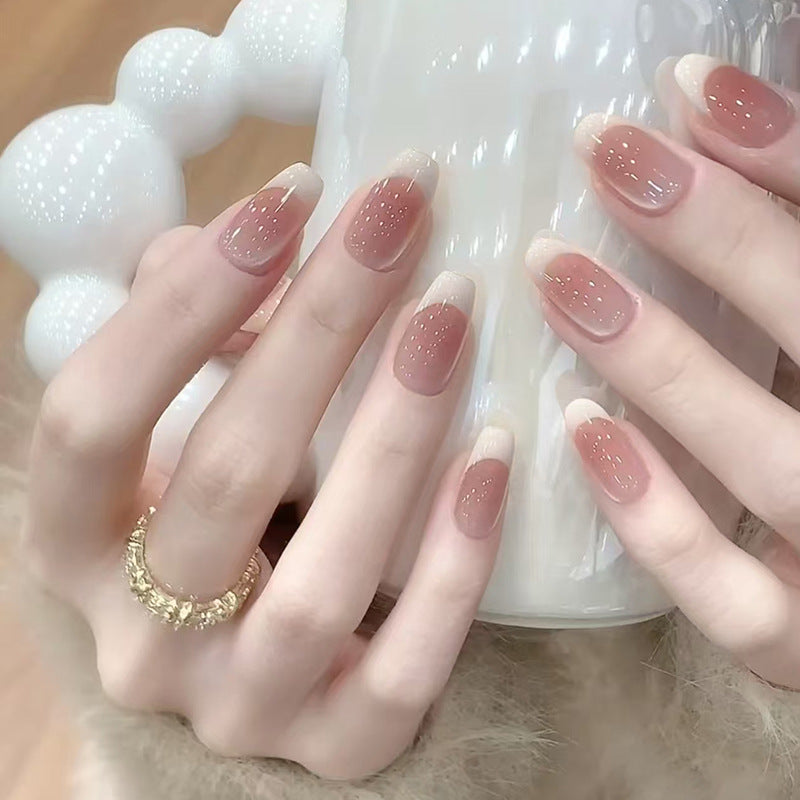
In this guide, we share the exact methodology we recommend to ensure your manicure remains secure, seamless, and indistinguishable from professional acrylics or gels. By following these industry-standard steps, you can achieve a durable result that lasts up to two weeks.
The Foundation of Every Long-Lasting Manicure
We believe that preparation determines ninety percent of your success when applying any nail enhancement. If you apply a beautiful nail over an oily or uneven surface, the adhesive will inevitably fail within forty-eight hours. We emphasize starting with a clean slate to ensure the strongest possible bond between the natural nail and the extension.
Begin by removing any old polish and thoroughly washing your hands with oil-free soap. We suggest avoiding “moisturizing” soaps at this stage, as they often contain emollients that leave a residue behind. A dry, clean surface provides the mechanical grip necessary for the adhesive to perform its job effectively.
Clearing the Cuticle Area for a Seamless Fit
We find that most “fake-looking” manicures result from a lack of cuticle work. If the press-on sits on top of the skin rather than flush against the nail bed, it creates a visible ridge that catches hair and debris. We recommend using a wooden or metal pusher to gently guide the cuticle back, revealing the hidden nail plate underneath.
Removing the dead tissue (the cuticle) from the nail surface allows the press-on to sit closer to the finger. This creates the illusion that the enhancement is growing directly from your own hand. We always advise our clients to be gentle during this step to avoid irritation while ensuring the entire perimeter of the nail is clear.
Dehydrating and Buffing the Nail Plate
Once you clear the cuticles, we focus on removing the natural shine from the nail. Use a fine-grit buffer to lightly etch the surface of each nail, which creates tiny “hills and valleys” for the glue to grab onto. We then suggest using an alcohol prep pad or a dedicated dehydrator to strip away any lingering oils or dust.
For those who prefer a more mechanical approach to prep, understanding proper nail drill speed settings can make this process faster and more efficient. Using the right speed ensures you remove the shine without thinning out the natural nail plate. A properly dehydrated nail will look slightly chalky, which is the ideal state for maximum adhesion.
Mastering the Adhesive Application Process
We see two common mistakes when it comes to adhesive: using too little or using too much. Too little glue creates air pockets that harbor bacteria and cause early lifting, while too much glue oozes out the sides and creates a messy finish. We suggest finding a balance that covers the entire surface area without flooding the surrounding skin.
Apply a small drop of glue to your natural nail and a thin layer to the back of the press-on itself. This “double-gluing” technique creates a cohesive bond that mimics the strength of professional salon products. We have found that this method significantly extends the wear time for our most active clients.
The 45-Degree Application Angle
We always teach the “bottom-to-top” method for the most natural appearance. Hold the press-on at a 45-degree angle, placing the base right at the cuticle line but not touching the skin. Slowly lower the nail down onto your natural plate, which pushes any air bubbles out toward the free edge.
Once the nail is flat, apply firm pressure across the entire surface for at least thirty seconds. We recommend starting with your pinky fingers and working your way toward your thumbs. This order prevents you from using your finished thumbs to apply other nails, which can lead to smudging or accidental displacement.
Troubleshooting Common Press-On Mistakes

We often hear from clients who feel frustrated when their nails don’t last through the weekend. One of the biggest culprits is water exposure too soon after application. We advise waiting at least two to three hours before washing your hands or applying lotions to allow the adhesive to fully cure.
Another common oversight involves choosing the wrong size. If a nail is too wide, it will overlap onto the skin and lift immediately. If it is too narrow, the natural nail will be visible on the sides. We suggest filing the sides of the press-on if you are between sizes to ensure a custom fit that matches your unique nail bed shape.
Maintenance and Safe Removal Strategies
We encourage a proactive approach to maintenance to keep your manicure looking fresh. If you notice a small gap appearing at the edge, apply a tiny drop of glue and hold it down immediately to prevent further lifting. We also suggest applying cuticle oil daily after the first twenty-four hours to keep the surrounding skin hydrated and healthy.
When you feel ready for a change, we strongly advise against “popping” the nails off. Forcing the adhesive to break can peel away layers of your natural nail, leading to damage and thinning. Instead, soak your hands in warm, soapy water with a bit of olive oil or use a professional-grade remover to dissolve the bond gently.
At Toes and Nails, we believe that everyone deserves the confidence that comes with a high-quality manicure. By treating the application process with the same respect as a professional technician, you transform a simple beauty product into a long-lasting, salon-grade enhancement. With patience and the right technique, you can master the art of the at-home manicure and enjoy beautiful, durable results every single time.
- Toes and Nails
- toesnailsseo@gmail.com