
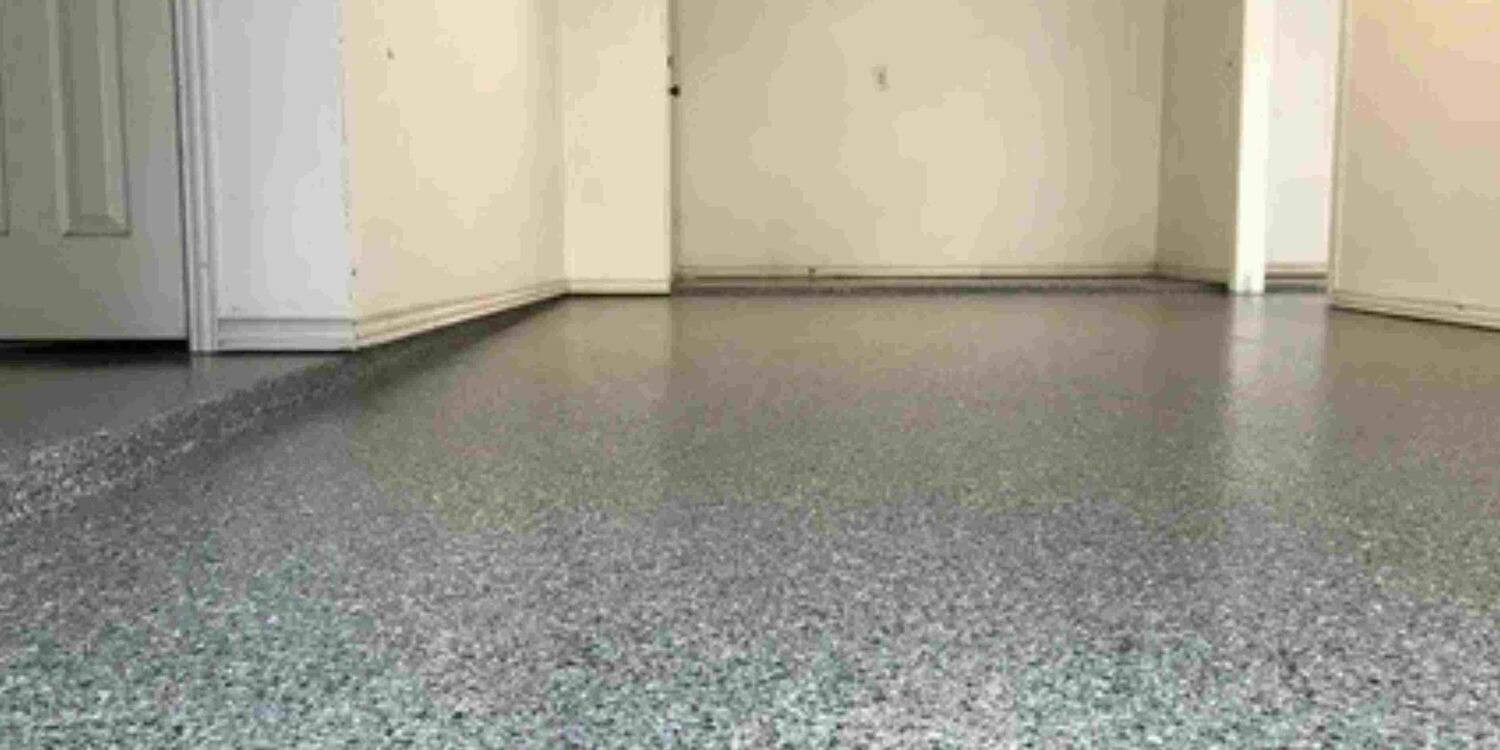
A garage floor needs more than a fresh surface layer when the concrete has cracks, stains, or small damaged areas. For East Bay homeowners planning a finished garage, proper preparation creates a strong starting point for the flooring system. Polyaspartic floor coating can then become part of a complete floor upgrade that also considers the garage’s size, use, and desired finish.
Why Concrete Condition Matters
Concrete condition affects how the floor is prepared before coating. The process starts with an assessment of the existing surface and the garage itself.
Key factors include:
- Concrete condition
- Required repairs
- Stem walls that need coating
- Garage size
- Color and finish preferences
This gives the flooring project a clear direction before coating begins.
Signs Your Garage Floor Needs Repairs
Visible cracks and minor imperfections are clear areas to address during preparation. Stains and surface contaminants also need attention before the coating layers are applied. For homeowners preparing a garage for vehicles and storage, the floor should be clean, prepared, and ready for the complete coating system.
Look Beneath the Finish
Small concrete problems deserve attention before a new surface is installed. Crack-repair materials can repair and conceal cracks and minor imperfections during preparation.
How Bay Garage Prepares the Concrete
The preparation process focuses on getting the existing concrete ready for the flooring system. It includes cleaning, repairs, preparation, and mechanical grinding with professional-grade equipment. The process creates a prepared surface before the coating application begins.
Cleaning and Mechanical Grinding
The concrete is thoroughly cleaned to remove surface contaminants. Mechanical grinding then prepares the concrete for coating adhesion. This stage is especially useful for homeowners who want a finished garage floor that fits into a larger storage and organization plan.
Repairing Cracks and Imperfections
Cracks and minor imperfections receive attention before coating. Crack-repair materials are used to repair and conceal these areas. Taking care of these details creates a cleaner foundation for the coating layers that follow.
Applying the Floor Coating System
The floor coating is applied in multiple layers. Polyaspartic floor coating is one of the available flooring options, along with:
- Standard epoxy
- Metallic epoxy
- Quartz epoxy
- Polyurethane topcoat
- Polyurea Polymer and Epoxy systems
The flooring selection is based on the garage, its condition, and the homeowner’s preferred appearance.
Adding Flakes and a Protective Topcoat
Decorative flakes can be added as a full layer across the floor. They provide texture and can reduce slipperiness while adding color to the finished surface. After the coating cures, a protective topcoat is applied. It adds protection and a glossy finish. The topcoat is also UV-stable and designed to resist yellowing or fading from sunlight.
Choosing Polyaspartic for Your Garage
For an East Bay homeowner comparing flooring options, polyaspartic floor coating can be considered alongside other available coating systems. The decision starts with the actual garage floor, desired appearance, and project requirements. This keeps the flooring selection connected to the space instead of treating every garage the same way.
How Floor Coating Fits Your Garage
A finished floor can support a garage used for vehicles, household storage, and daily activities. The floor systems are designed to provide resistance to:
- Stains
- Chemicals
- Abrasion
- Heavy use
- Vehicle traffic
- Liquid penetration
Cleaning can include sweeping, vacuuming, mild detergent and water, mopping, hosing, or light pressure washing. Freshly coated floors can be walked on in as little as 24 hours, while vehicle traffic can resume after 48 hours. Typical installation takes 2–4 days.
Overhead Storage Racks Near You
Floor improvements can also fit into a larger garage storage plan. Overhead storage racks give East Bay homeowners a way to use open ceiling space for belongings that are not needed every day.
A 4 × 8 overhead rack provides up to 120 cubic feet of storage capacity. Ceiling-suspended racks carry a 750-pound rating, while a rack mounted on one side to a wall has a 1,000-pound rating.
Useful items for overhead storage include:
- Holiday decorations
- Camping gear
- Seasonal equipment
- Luggage
- Storage bins
- Keepsakes
- Bulky items
- Sports equipment
The system uses four trusses for ceiling-mounted load distribution and a 2-inch safety lip around the platform. Patented open corners also make loading and unloading more convenient.
Final Words
Concrete preparation sets the stage for a finished garage floor. For homeowners considering overhead storage racks near them, planning the floor and storage together can create better use of both the floor and ceiling areas.
A prepared concrete surface, selected floor finish, and well-planned overhead storage can bring greater order to a garage while keeping the space practical for everyday use.
- Bay Garage
- baygarage94520@gmail.com